


How To
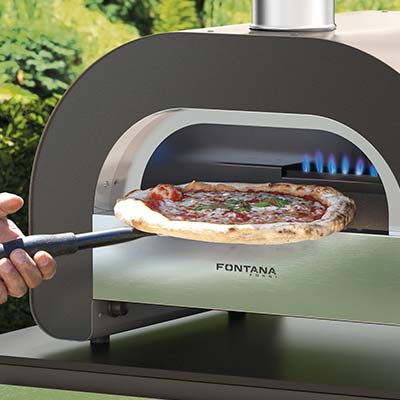
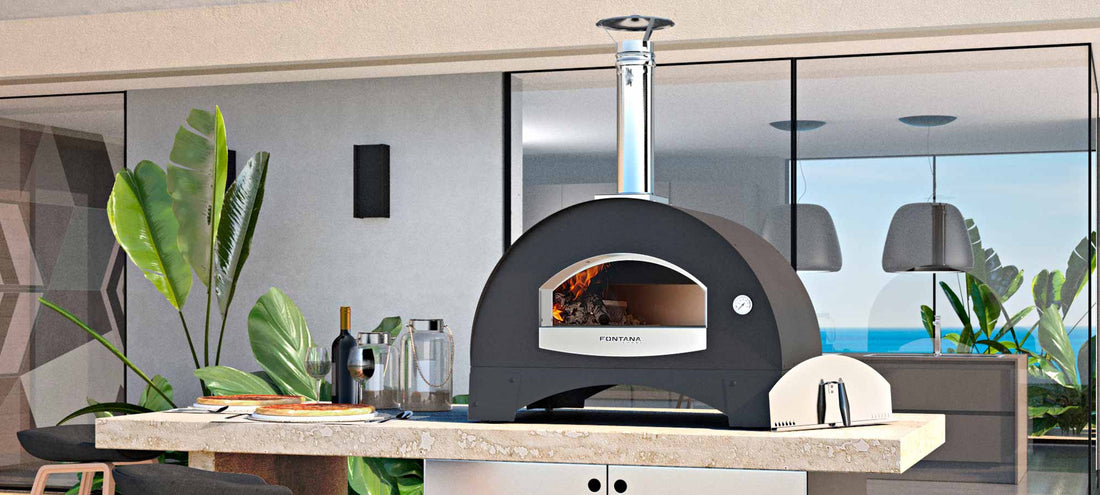
How to Light and Maintain Fire for Pizza
Lighting the Fontana wood-fired oven, is a simple task that needs some initial, careful attention to specific fundamentals.
These basic steps will definitely become second nature as time goes by. Pizza magic and success will be a regular occurrence in the comfort of your own backyard kitchen, and will naturally become a wonderful way to build community with family and friends.
Let's get started!
Supplies
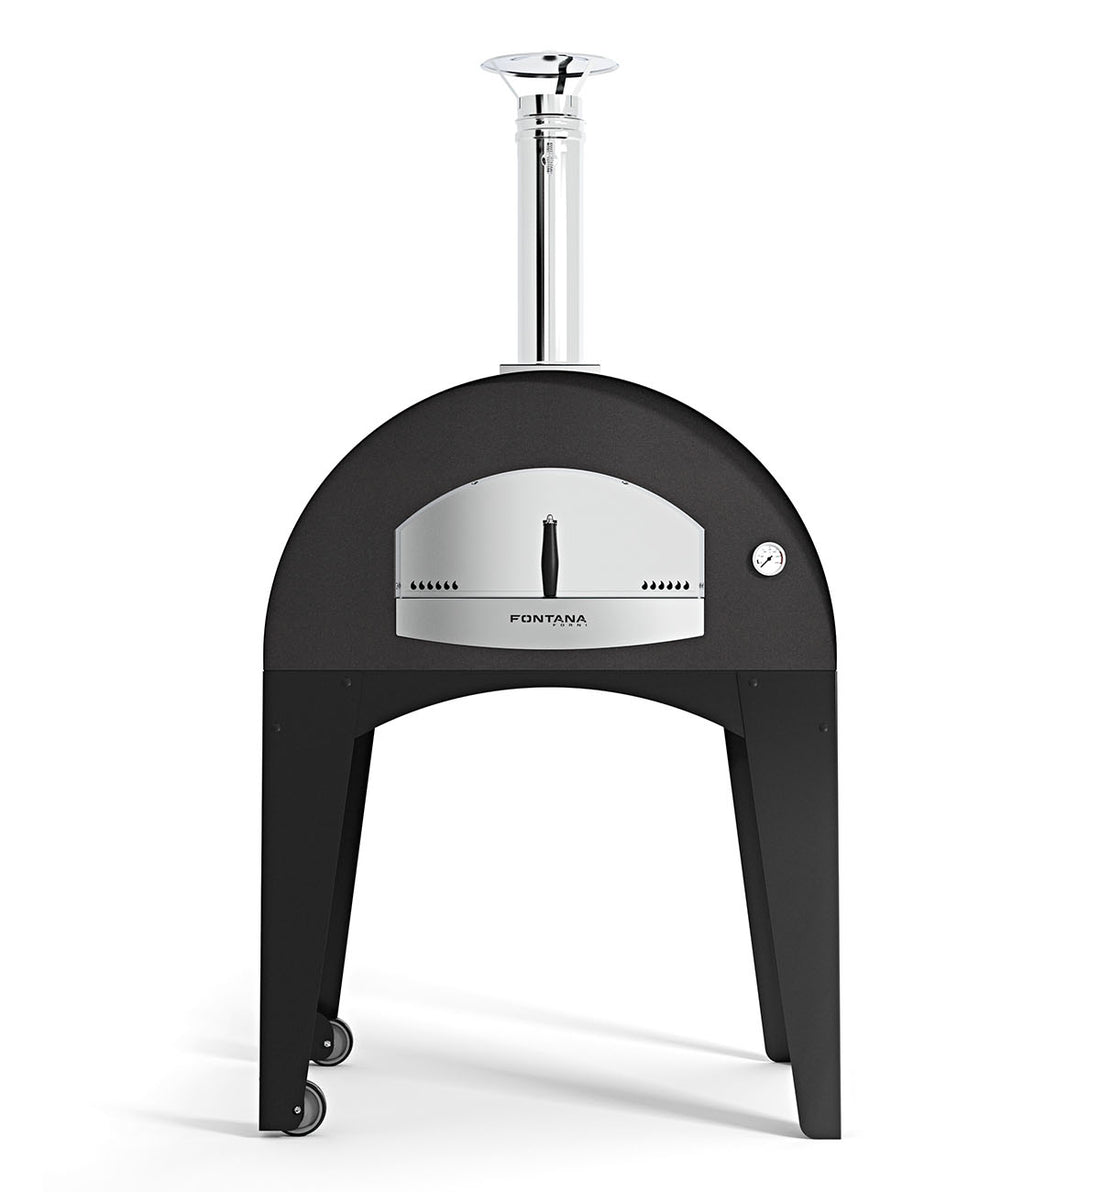
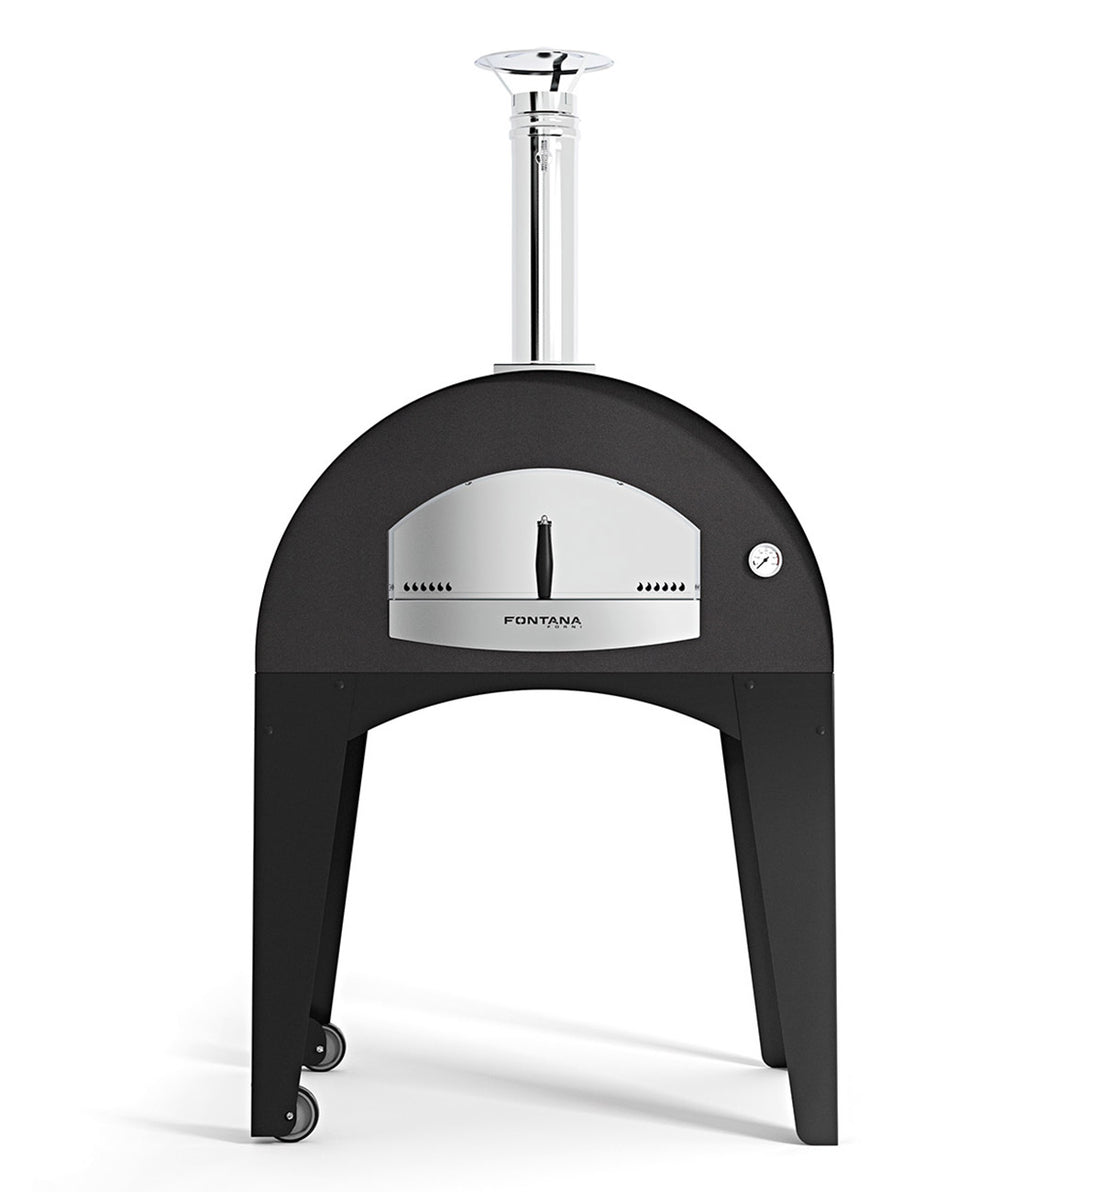
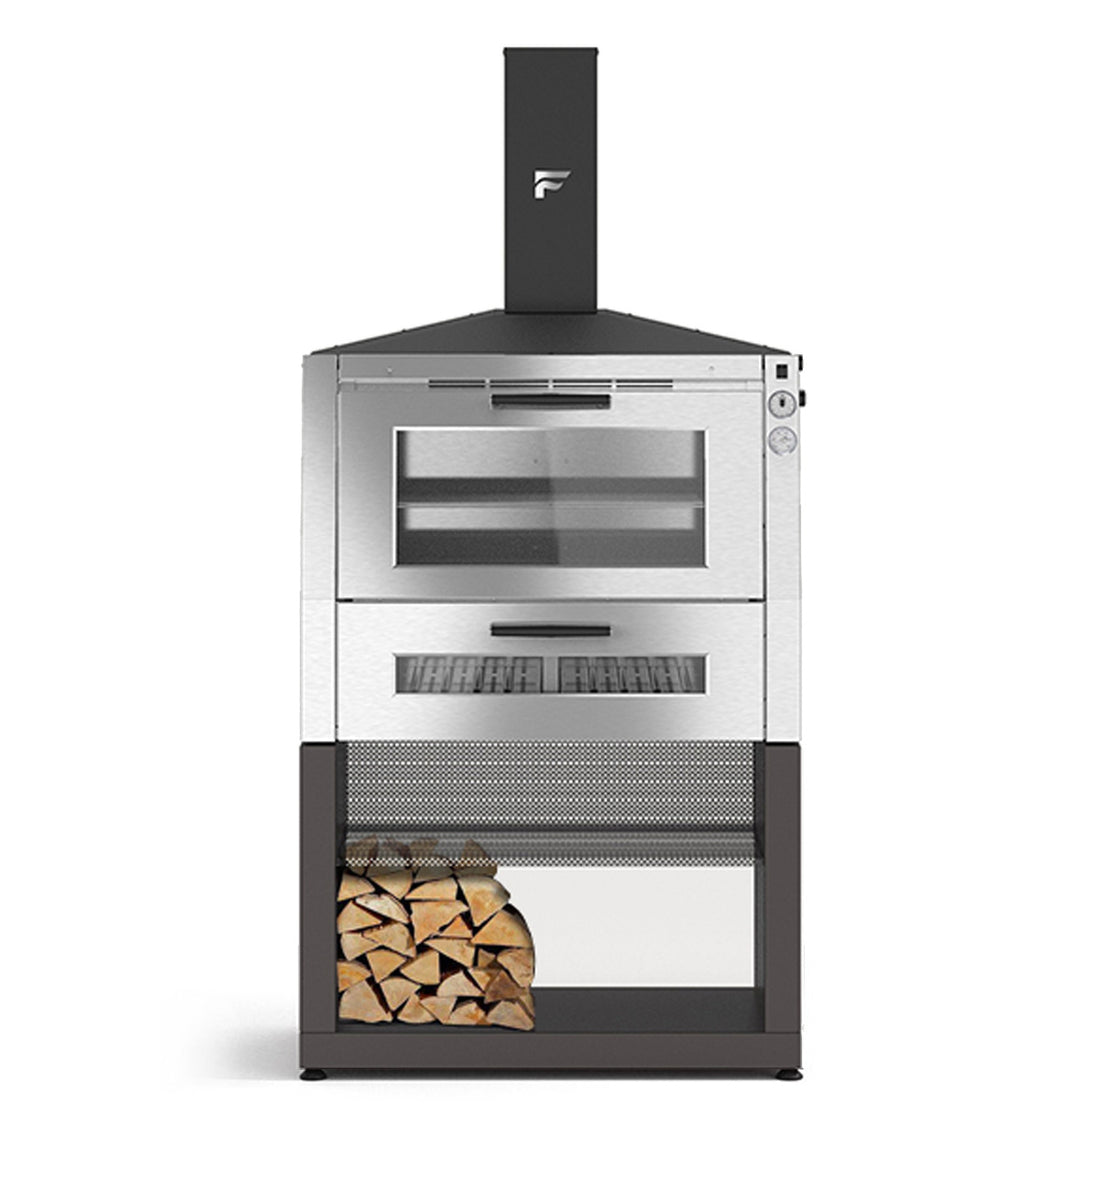
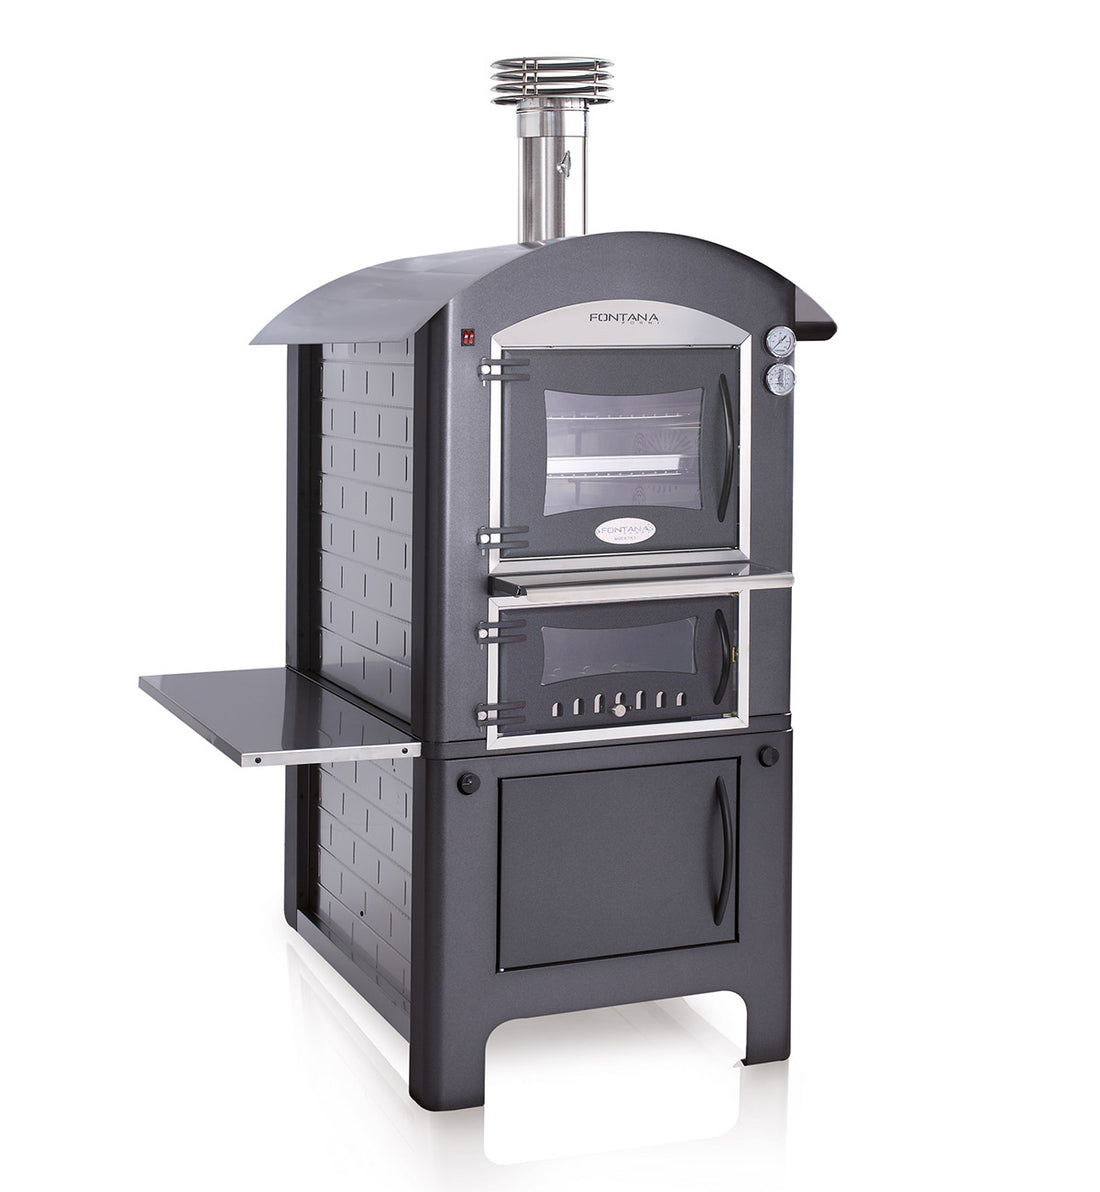
- Wood Fired Oven
- Propane torch
- Pizza Oven Accessory Kit
- Pizza Dough
Recipes
Pizza Dough with Poolish
Beer Pizza Dough
A Simple Pizza Dough Recipe
Directions
- Before lighting the wood-fired oven, clean out the remaining ash still present on the oven floor from the previous bake. Do this with the help of the shovel and bristle brush, as shown in the video. Set the ashes and any remaining coals into a heat resistant bucket.
- Once the oven is clean, and before lighting the kindling, make sure the damper on the chimney is open for good airflow.
- To light the oven, place the fire starter and small pieces of kindling in the wood stand on the left side of the oven. It is important to place it on the left side because this is where the extra corten steel shield is installed. This beneficial addition is installed specifically to receive the brunt force of the heat of the fire, therefore guaranteeing the longevity of the dome.
- Use a propane torch or matches to ignite the kindling. Once kindling has begun burning, begin adding small pieces of wood to the fire.
- As the fire grows, increase the wood size until you reach a maximum diameter of 2.5-3 inches. It may be helpful to fan the flame during this heat up process. This is where the Electric Fire Starter will come in handy. By blowing at the base of the flames, oxygen is added, allowing the fire to increase quickly to catch the rest of the wood.
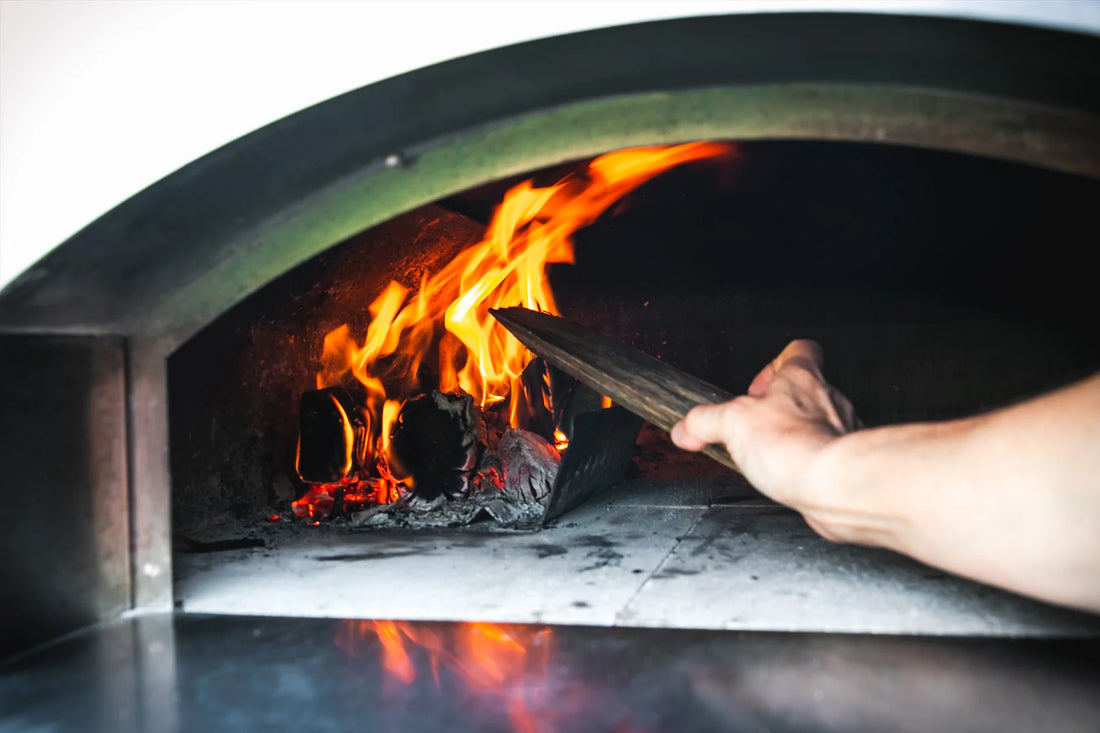
- Continue adding pieces of wood that are 2.5-3" in diameter until there is a strong roaring fire. Flames billowing across the oven dome are a good sign for a quick heat up time.
- Once there is a roaring fire, close the oven door and angle the damper on the chimney to 45°. This allows the smoke to escape while still retaining as much heat as possible.
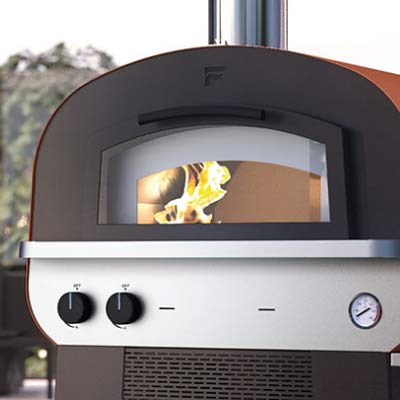
- The oven will come up to temperature, as shown in the video. The damper is an essential addition, which allows for maximum efficiency and temperature control. Fontana's design allows for the user to be able to fully close the door and completely control heat escape by using the damper.
- Continue checking the fire regularly, adding pieces of wood as needed while the oven continues to heat up.
- Heat up time should take approximately 30 minutes. The actual oven temperature will heat up quickly, but for pizza it is imperative to check the temperature of the oven floor. Do this by simply pointing the infrared thermometer on the oven floor where the pizza will be placed.
- When using the standard stones that come with the oven, the temperature should read 700°-750°F (370°-400°C).
- Any higher than 750°F, and the pizza will charr underneath. 750°F is the perfect temperature for Tuscan style, thin crust pizza. If however, a Neapolitan pizza is desired the SAPUTO stones are made specifically for this. If using the SAPUTO stones from Naples, the temperature can easily be brought up to 850°-900°F.
- Being hand made with volcanic clay, this stone is ideal for Neapolitan style pizza which must be baked in 90 seconds or less. Regularly make sure to continue adding wood to the fire. As for pizza, it is important to always keep an active flame.
- A good rule of thumb is to never bake a pizza if the flame reaches up to or past halfway across the dome. If it does, the pizza will cook faster on top then it does on the bottom. Following this principle will ensure the pizzas cook evenly on top and bottom.
- If at any time the pizzas cook too quickly on top, simply open the damper of the chimney to allow excess heat to escape, or allow the fire to burn down so that the flames match previously stated parameters (step 11).
- Closing or partially closing the door of the wood-fired oven during baking, or while preparing the next pizza is recommended. This is a crucial step to maintain temperature and maximize efficiency of the oven. There is a learning curve to using an appliance of this caliber, but with use, one will become a master.
- Check out the video above to see how easy it is to make pizza in your very own backyard. Let's get started lighting the oven and prepping it for making some amazing and delicious pizza! Enjoy!
Buon Appetito!