


Pizza Recipes & Ideas
Pizza Dough with Poolish
Recipe
Pizza Dough with Poolish is an easy way to create not only a much deeper flavor profile, but also improved texture, better extensibility and structure. This sponge like pre-ferment is a great way to reduce the yeast by half, thus making it more digestible. By incorporating the poolish into the dough, one will gain flavor and aroma while minimizing any acidic undertones usually present with natural leavening methods. So delicious! Let's get started!
Supplies
- Large bowl
- Danish dough whisk or plastic spatula
- Dough trays
Ingredients
Poolish:
- 300 grams bread flour
- 300 grams water
- 1/8 teaspoon instant yeast
Final Dough:
- 700 grams 00 flour or All Purpose flour
- 330 grams water (63% hydration)
- 1/2 teaspoon instant yeast
- 18 grams salt
- Poolish from above
Directions
- A poolish is a pre-ferment resembling a wet sponge. Incorporating the poolish into the dough will not only develop great flavor, but will also improve the dough's extensibility.
- To make the poolish, simply combine equal parts of flour and water, as well as a very small amount of yeast and mix everything into a homogeneous wet dough. Transfer everything into a food safe container and cover loosely with a lid. Set the container on the countertop to rest overnight. The following day the poolish will have at least doubled in size, and have a very airy, jiggly and almost batter like consistency. Be aware that if the poolish collapses its leavening power will have definitely decreased.
- The following day, in order to make the final dough, simply mix and disperse the salt with the reserved remaining flour. Create a well in the center of the flour with the help of one hand. Time to incorporate the poolish.
- An easy way to remove the poolish, is to pour the reserved water along the edge of the container, as this will allow the thick "batter" like dough to come away from the walls thus sliding out more easily.
- Pour the poolish into the bowl with the flour, and add the small amount of remaining yeast.
- With the help of a danish dough whisk or a rubber spatula, begin to incorporate the dry ingredients with the wet.
- There are different methods to work the dough. One way to work the dough is to simply cup one hand, almost resembling a spoon. Slide the cupped hand under the dough with a quick movement as shown in the video, and continue doing this as you rotate the bowl in clockwise motion. Not only will air be incorporated with this method, but also a great way to encourage gluten development. At this point the dough will look shaggy and far from smooth and probably will even rip when stretched. This is when resting times are introduced.
- Cover the dough with a damp cloth and allow it to rest for about 15 minutes. The resting time is important to allow each particle of flour to be well hydrated thus encouraging further gluten development. Another benefit of the resting time is to allow the dough to relax.
- After this resting time the dough might still not have a smooth appearance, but as soon as it is worked and stretched it will be evident that good gluten structure has begun and the dough will be more elastic and will not rip.
- As there are many techniques to work the dough, let's consider just a few. One way is to use the cupped hand method described above, another way is to use the stretch and fold method, or the slap and fold technique as shown in the video, and yet another method is to simply use both hands to knead the dough. Choose what is most comfortable for you.
- Once the dough has been worked for a few minutes, cover once again and allow the dough to rest for an additional 10-15 minutes. Do this kneading and resting one more time.
- Finally work the dough briefly, then place it back into the bowl, cover with a damp cloth, and allow it to rest for at least one hour.
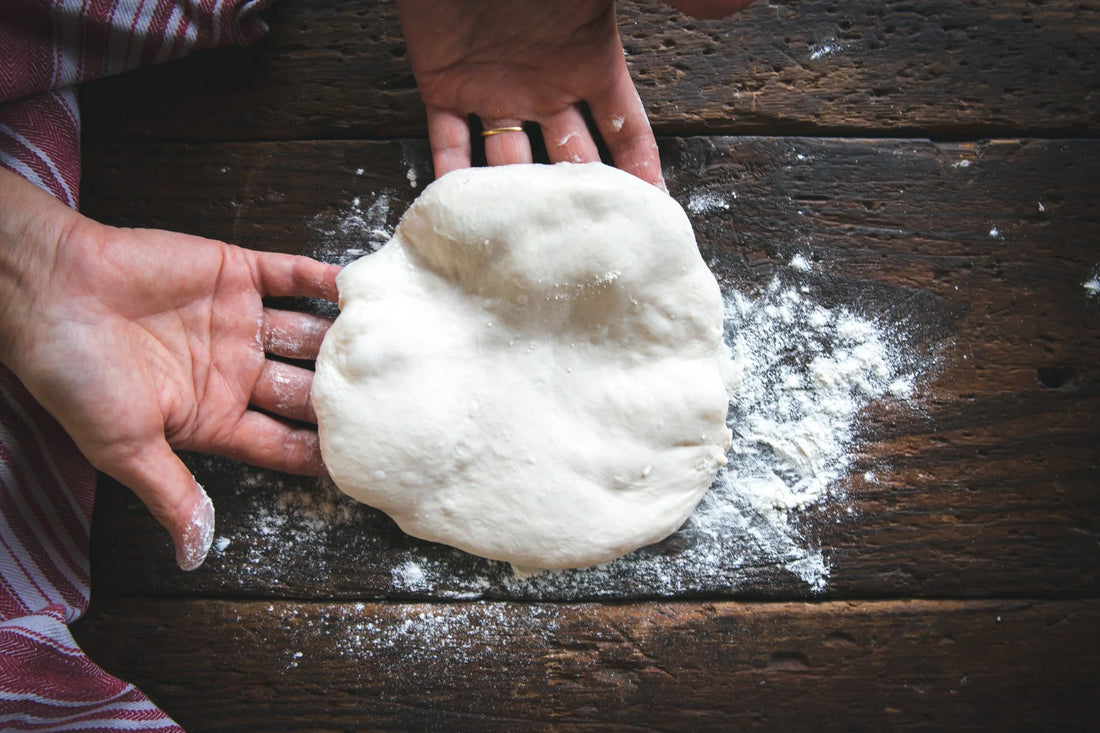
- After one hour, or when the dough has been able to rise, it can be shaped into 8 dough balls, each weighing about 200 grams as shown in the video.
- Transfer the dough balls into the dough trays, and cover with a lid. Pizza can be made the same day after the dough rises at room temperature for a few hours. However, better flavor and greater structure are developed when the dough is refrigerated overnight.
- The following day remove the trays from the refrigerator and allow the dough balls to reach ambient temperature before stretching for pizza. Enjoy!
Buon Appetito!